Spending thousands on an outdoor kitchen only to find it poorly laid out or deteriorating within a year is a nightmare scenario for any homeowner. Understanding the 5 Outdoor Kitchen Design Mistakes Homeowners Should Avoid can save you from that frustration entirely.
These errors show up again and again across properties in North Hills, Brier Creek, and neighborhoods throughout the Triangle area. The good news is that every single one of them is preventable with a bit of forethought.
Mistake 1: Selecting Materials That Cannot Handle North Carolina Weather
The humid subtropical climate in Raleigh puts enormous stress on outdoor surfaces. Summer temperatures regularly push into the upper 80s and low 90s, with humidity levels that accelerate moisture absorption in porous stone.
Choosing countertop materials based on how they look in an indoor showroom is a recipe for cracking, staining, and early replacement. The freeze-thaw cycle during winter months, though milder than up north, still wreaks havoc on unsealed granite and low-grade stone.
Countertop Options Worth Considering
Porcelain slabs have become a top choice for outdoor surfaces because they resist UV damage, absorb virtually zero moisture, and require no annual sealing. Installed costs typically run between $80 and $140 per square foot, which pays for itself in reduced maintenance over the years.
- Porcelain: Highly UV resistant, non-porous, and zero maintenance required.
- Quartzite: Offers natural stone beauty with superior density compared to basic granite.
- Granite: A classic choice that demands rigorous annual sealing to survive local weather.
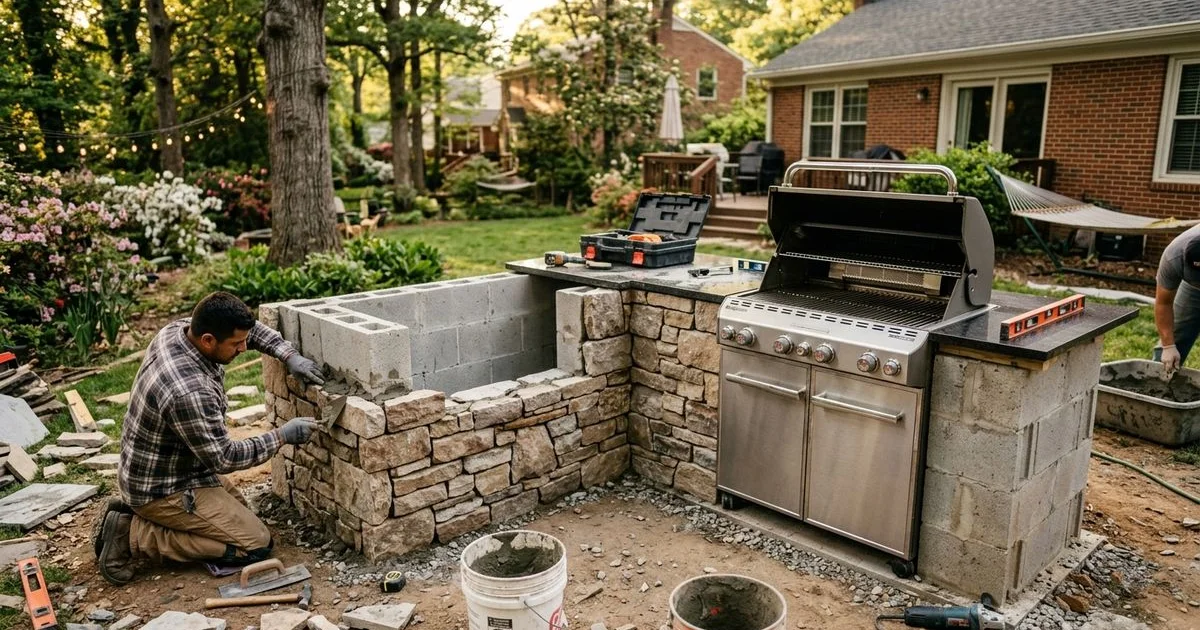
Framing and Appliance Grades
Painted steel frames rust quickly in the Southern humidity. Concrete block masonry paired with a stone veneer delivers far better long-term performance. For appliances, standard 304 stainless steel handles most applications well. Upgrading to 316 stainless adds 2 to 3 percent molybdenum, which dramatically improves resistance to chemical cleaners and corrosion.

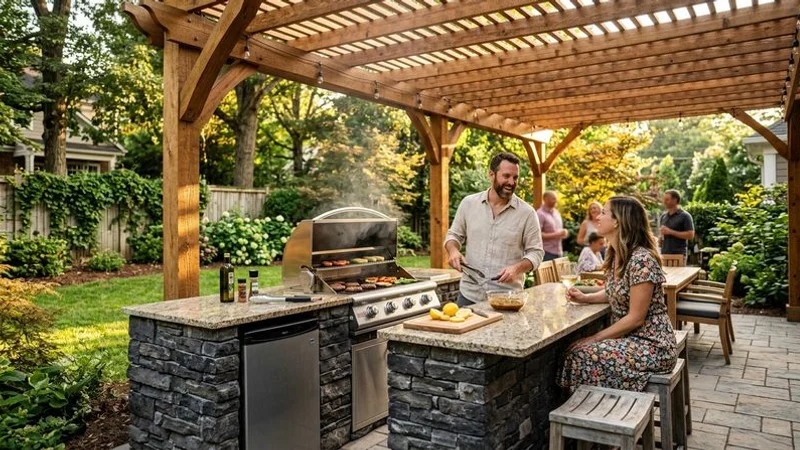
Mistake 2: Forgetting the Work Triangle
A layout that forces the cook to walk back and forth across a sprawling countertop wastes time and energy. The work triangle, a concept borrowed from the National Kitchen and Bath Association, positions the grill, sink, and refrigerator at three distinct points for maximum efficiency.
| Work Triangle Element | NKBA Measurement Guideline | Practical Benefit |
|---|---|---|
| Individual Leg Length | 4 to 9 feet | Prevents feeling cramped or walking too far. |
| Total Perimeter | 12 to 26 feet | Ensures the entire zone remains highly efficient. |
| Island Clearance | Max 12-inch obstruction | Keeps traffic flowing smoothly around the cook. |
Linear arrangements, where everything sits in a single row, often push the grill ten feet or more from the prep sink. An L-shaped or U-shaped configuration naturally tightens that distance and keeps ingredients, tools, and cooking surfaces within easy reach. Placing under-counter refrigerated drawers directly beneath the primary prep surface is another small change that makes a big difference during those hot July afternoons.
Mistake 3: Overlooking Ventilation and Smoke Control
A covered patio or pergola can trap grease, smoke, and heat if the grill lacks proper ventilation. Relying on a breeze to clear a thick cloud of smoke from burgers or ribs is unreliable at best.
Every covered outdoor kitchen benefits from a mechanical vent hood sized to match the grill output. The general rule is 1 CFM of airflow per 100 BTUs. A standard 75,000 BTU grill needs at least a 750 CFM fan, with additional power factored in for long duct runs.
| Grill Heat Output (BTUs) | Minimum Hood CFM Requirement | Recommended Duct Size |
|---|---|---|
| Up to 60,000 BTUs | 900 CFM | 8-inch diameter |
| 60,000 to 90,000 BTUs | 1,200 CFM | 10-inch diameter |
| 90,000+ BTUs | 1,500+ CFM | 10 to 12-inch diameter |
Positioning the grill along the outer edge of the covered area also helps, since prevailing summer breezes can carry residual smoke away from the seating zone.
Mistake 4: Skimping on Plumbing and Electrical Planning
Hauling dirty dishes back inside after every cookout defeats the whole purpose of an outdoor kitchen. Proper plumbing and electrical connections are not optional extras.
Wake County code enforcement requires permits for any plumbing or electrical additions to a property. Running an extension cord across the lawn to power a rotisserie is both unsafe and a code violation. NC law mandates licensed electricians and plumbers for all connection work.
- GFCI Protection: Required for every exterior kitchen receptacle.
- Gas Line Stubs: Inspectors require a minimum of 2 inches of unthreaded gas pipe exposed above the deck.
- Approved Drainage: Sinks must connect to the municipal sewer system rather than draining into the yard.
- Winterization: Drain-down systems protect pipes during sudden January cold snaps.
Budgeting 15 to 25 percent of the total project cost specifically for utilities prevents unpleasant surprises halfway through construction. Trenching for utility lines after a patio has already been poured is far more expensive than planning them up front.
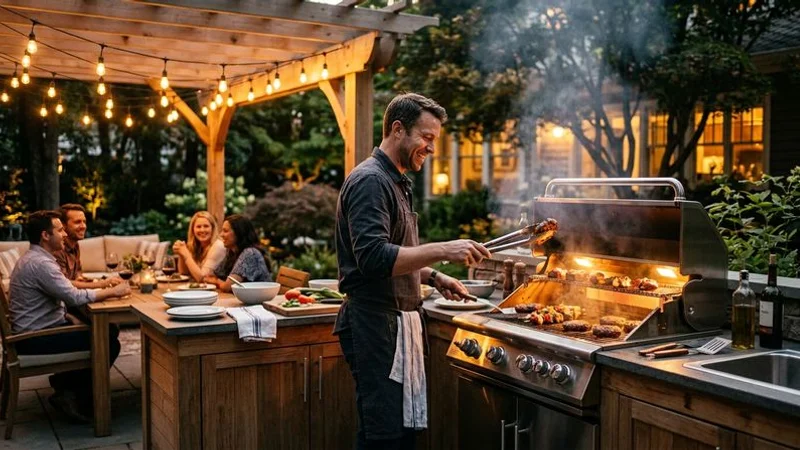
Mistake 5: Treating Lighting as an Afterthought
A finished outdoor kitchen that goes dark at sunset becomes both inconvenient and unsafe. Preparing raw poultry without proper illumination is a genuine health concern, and navigating hot grill grates in dim light invites burns.
Effective outdoor kitchen lighting uses three distinct layers working together.
- Task Lighting: Focused, bright beams directed specifically over the grill and chopping block.
- Ambient Lighting: Softer, general illumination spread across the seating and dining areas.
- Accent Lighting: Low-voltage landscape lights highlighting the stone veneer and nearby pathways.
Under-counter LED strips illuminate cabinet interiors and utility drawers, making it easy to locate tongs or a spare propane tank after dark. Placing task, ambient, and accent fixtures on separate dimmer switches gives you full control over the mood as the evening transitions from cooking to conversation.
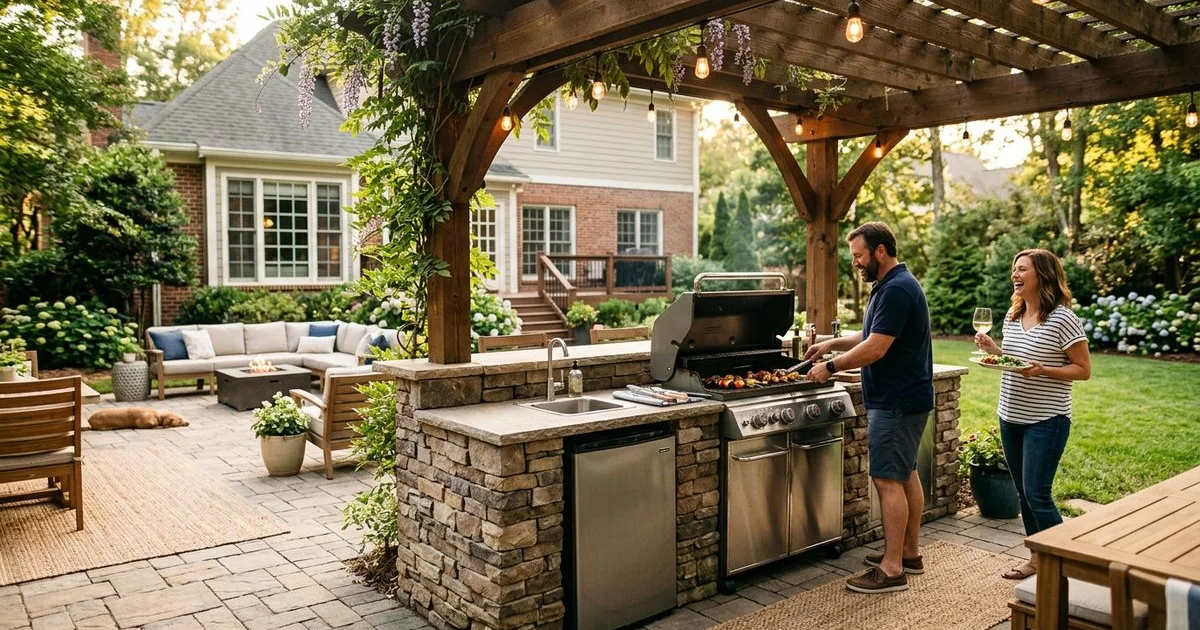
Building an Outdoor Kitchen That Lasts
Typical outdoor kitchen installations in the Triangle area range from $15,000 for a basic setup to over $75,000 for a fully equipped configuration. Protecting that investment requires careful attention to local soil conditions, Wake County building codes, and material performance under year-round humidity.
”The difference between a disappointing patio and a high-performance culinary space is decided months before the first brick is laid.”
Hardscapes Raleigh connects homeowners in Raleigh, Cary, Apex, and surrounding communities with vetted professionals who understand these challenges inside and out. Every detail, from the initial blueprints through final code inspections, is handled by specialists who build for the local climate.
Your backyard deserves a cooking space that holds up through years of heavy entertaining. Schedule a design consultation and take the first step toward an outdoor kitchen built the right way.